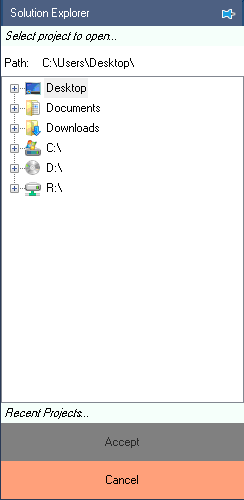
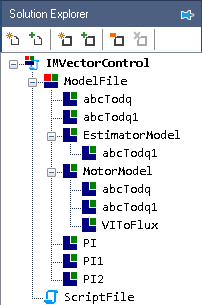
The Explorer/Solution Explorer, present on the dock, acts as both file browser to navigate to and, open, add, or remove files from a project, as well as, a container to display the project structure.
The toolbar within the Explorer dock:  consists of the following buttons:
 : Creates a new project.
 : Opens an existing project.
 : Creates a new model or script file and adds it to the selected project.
 : Adds an existing model or script file to the selected project.
 : Removes selected project, model, or script file. This does not delete it from the physical folder, simply removes it from the current project.
 : Permanently deletes (sends to Recycle Bin) the selected model or script file.
 : Download project files.
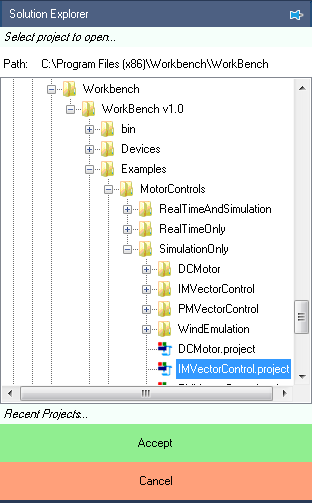
Clicking the second icon,  opens an existing project. This opens the file bowser within the Explorer dock.

The example files are by default present in C:\Program Files (x86)\Sciamble\WorkBench v1\Examples\. The project is loaded by double clicking the .project node within the folder. Alternatively, selecting the project and clicking Accept button in the bottom of the Explorer dock will also open the project.

Files within the project can be explored by clicking the  icon.
icon.
Solution Explorer nodes:
 - Project header |
 - Script file |
 - Model file |
 - FPGA Bit file |
 - Model subsystem

Double clicking the model and/or script and/or subsystem nodes to opens the file in the center dock. which can be closed by clicking  button on the file tab in the center
dock
  .
.
 Note
NoteClosing the file tab still retains all the unsaved changes made to the file and can be opened where it was previously left by double clicking on the node in the Explorer as long as the project itself has not been closed.
At any given instant more than one project file can be open. The active project is highlighted in bold. Any project can be set as active project by simply clicking the project node in the Explorer.
To close a project, select the project and click the  , the project remove icon, the fifth icon in the Explorer toolbar.
If there are any unsaved changes a prompt is shown in the Explorer dock where individual files can be selectively saved. After this, click the Accept button to close and remove the project.
Creating a new project creates a .project file with the given ProjectName in the given location, and a folder by the same name to house the project model, script, data log files etc. Any new file that is part of this project should preferably be saved in this folder or sub-folders within it. Doing so allows for the project to be easily transportable between PCs as the files paths are stored as relative paths. If the file is saved outside of this folder, when the project is opened on a system other than the one it was created on, the path of the files must be ensured to be the same as when created.