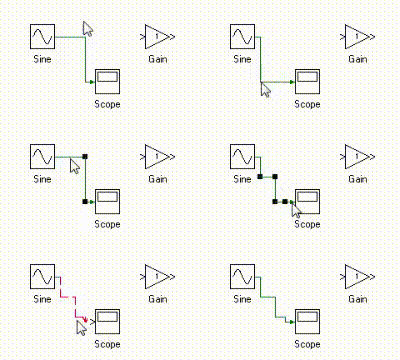
There are number of ways to interconnect tools in Workbench. These methods are explored in this short tutorial.
To connect tool output to an input port or vice-versa, click on one of the port and with the mouse button held down, drag and release on the other port between which connection needs to be established. The back end auto-route engine will optimize the route to take the shortest path with as little cross overs as possible.
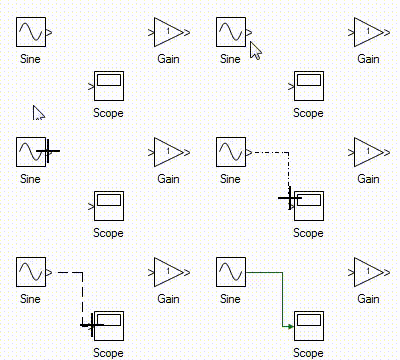
To connect the tool port to a floating link, click on the floating end of link and drag mouse and release at tool port or vice-versa.
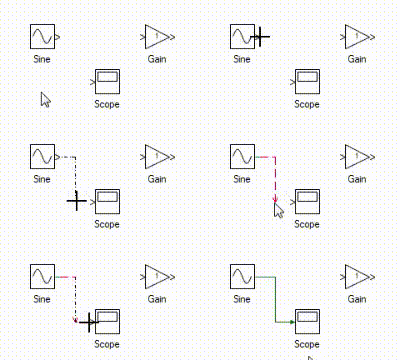
Alternatively the tool can be moved to the vicinity of the open link and the route will auto snap to the nearest tool port. Move the tool using arrow keys or click on the tool and drag and place it at the desired location before releasing the mouse.
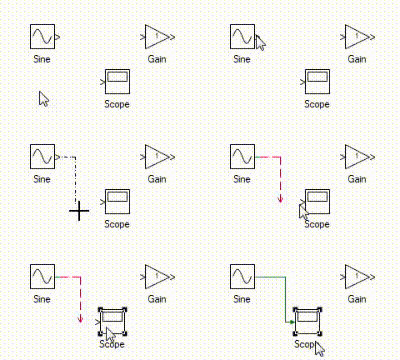
A single output can connect to more than one tool input. To this, form the first connection from output to input using any one of the above methods. After this, click on the other tool's input port and drag and release mouse on an exisiting link to form a second branch from that point. The same can be repeated to add any number of branches.
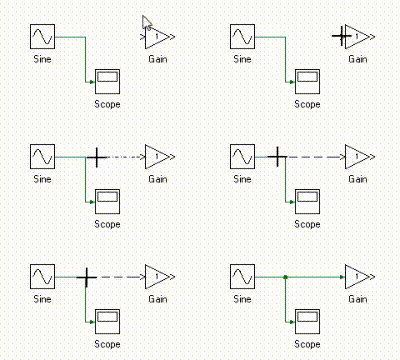
Alternatively to do the same in reverse order, i.e. from link to another tool input port, press and hold Ctrl key and click and drag the mouse and release it on tool input port.
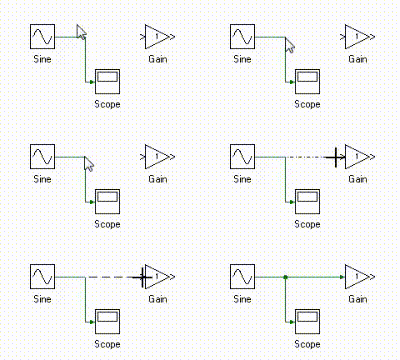
Click on the link and anchor points which can be used to reshape the links will be highlighted. Click any of the points and move them to reshape the link. To disconnect the link from tool inport, click on the last anchor point and move it.
